Current photos: systems in use March 2018 - present:
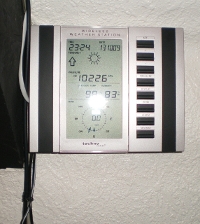
Photos of the weather station:


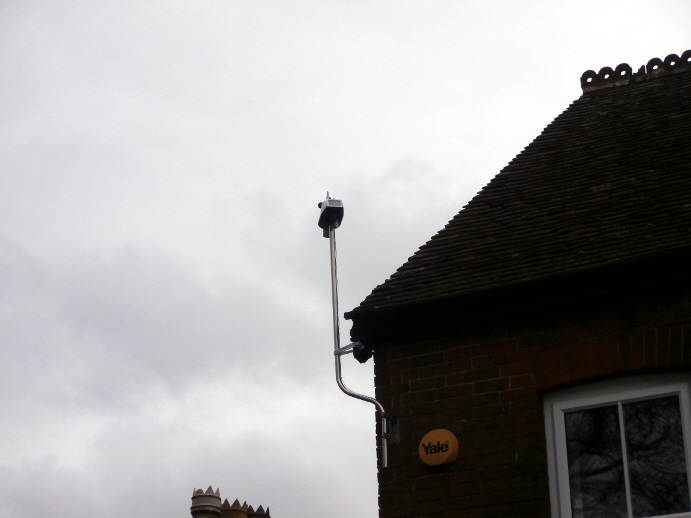
Photo of the webcam and UV sensor (now used as a “clock”):
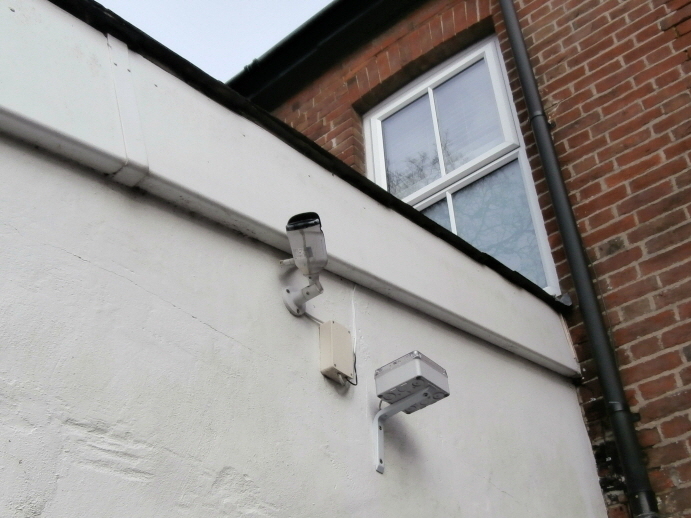
Photos of indoor equipment:

Some of the kit on the top shelf is legacy used for other purposes.
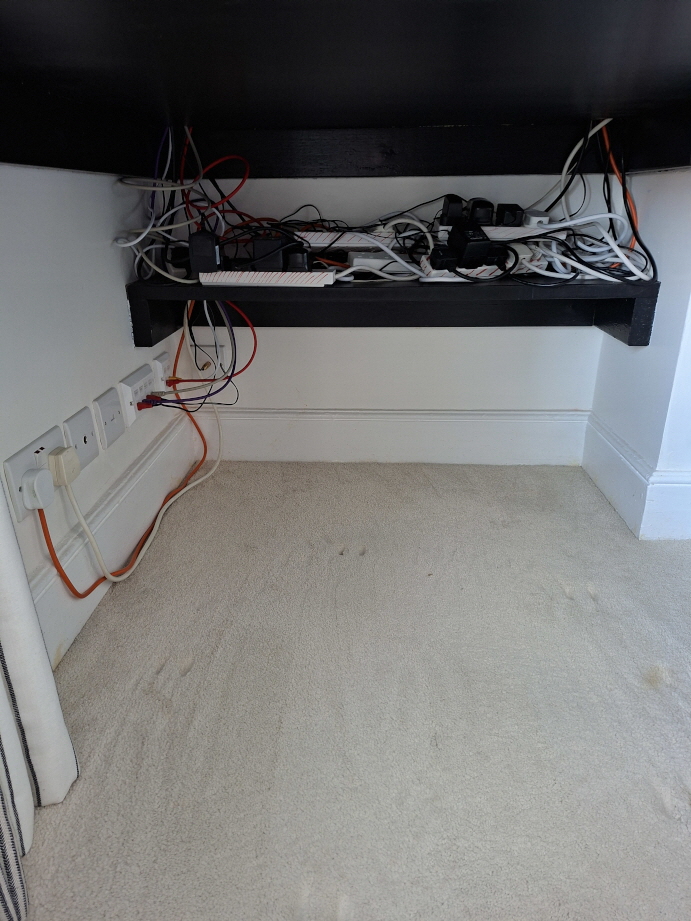
Cables on the bottom shelf.
Old photos: systems in use March 2017 - March 2018:
Photos of outdoor equipment (various views of the webcam, rain collector and anemometer):

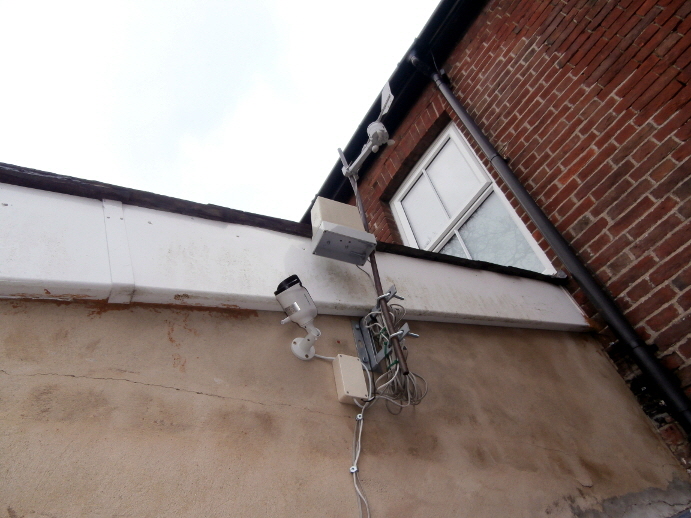
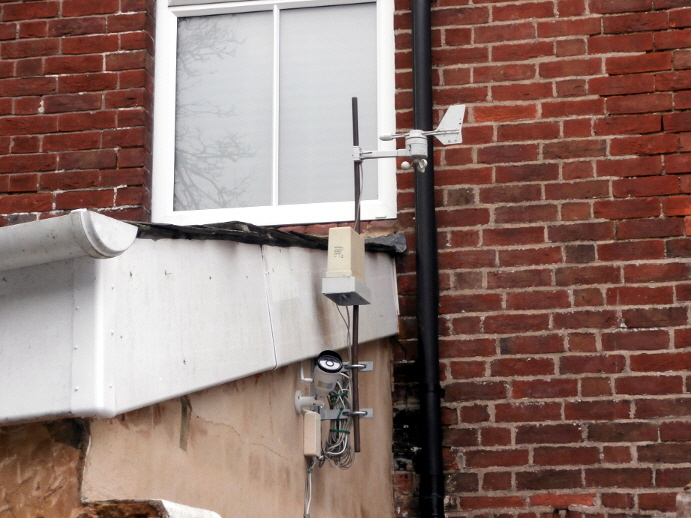

The hygrometer.
Photos of indoor equipment:
Some of the kit on the top shelf is legacy used for other purposes.
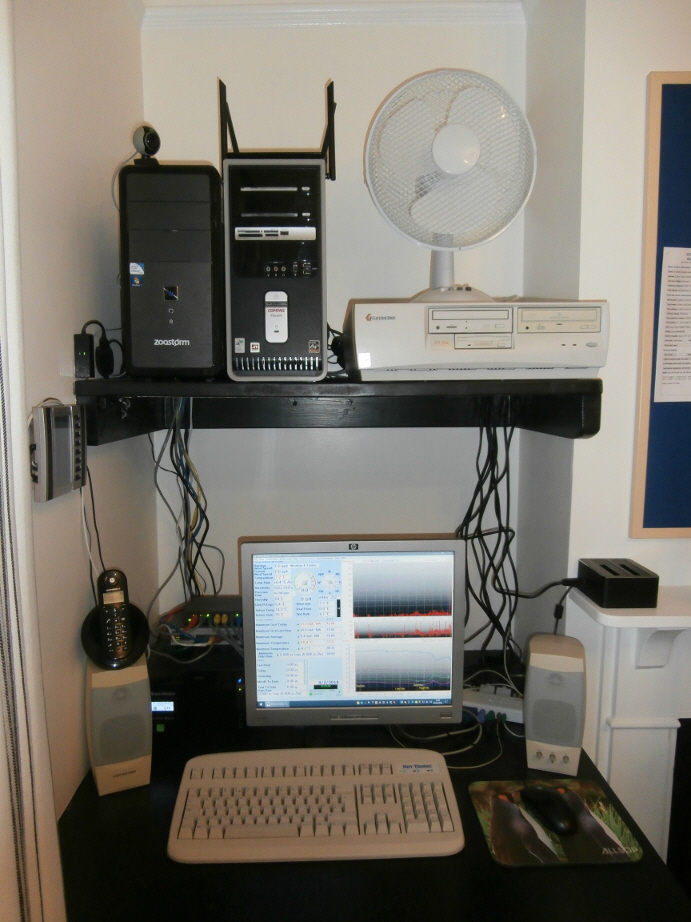
Cables on the bottom shelf.

Old photos: systems in use September 2009 - February 2017:
Photos of outdoor equipment:
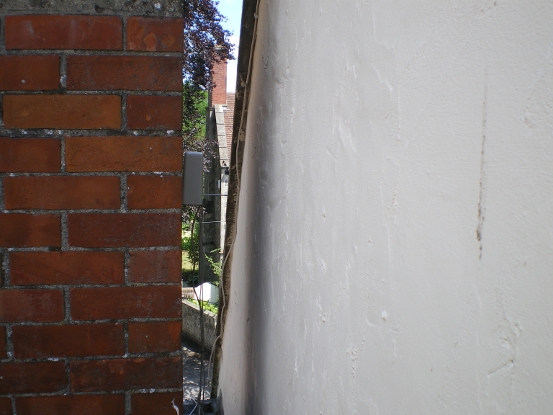
Temperature/hygrometer sensor (with plastic cover). Just visible between the two walls.

Rain collector (view 1).
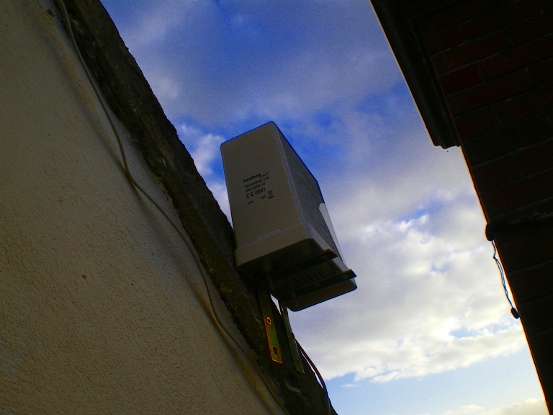
Rain collector (view 2).
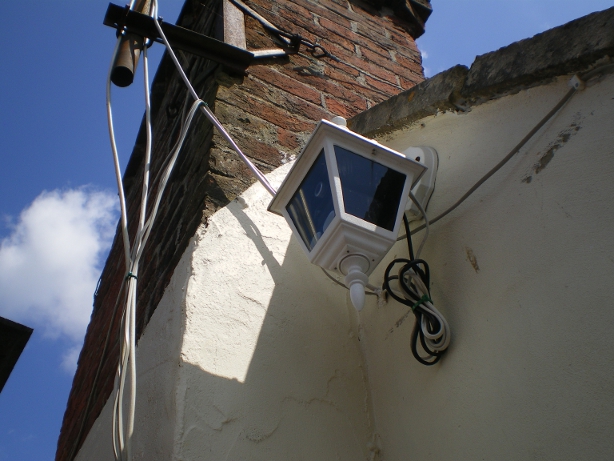
The best in DIY? Webcam housed in an outdoor light fitting. Notice the blacked-out side panel.
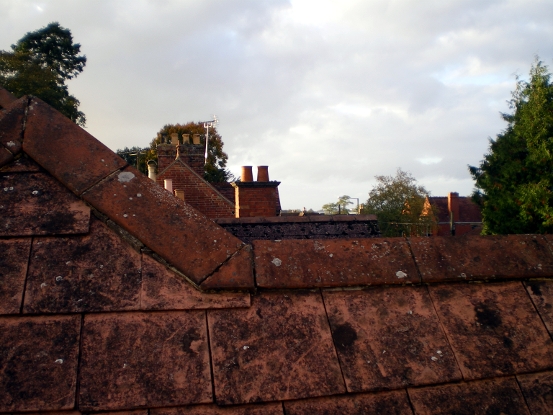
An emulated view of the webcam.
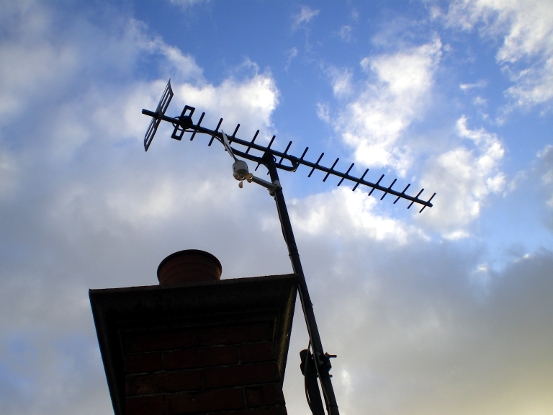
Wind sensor (view 1).
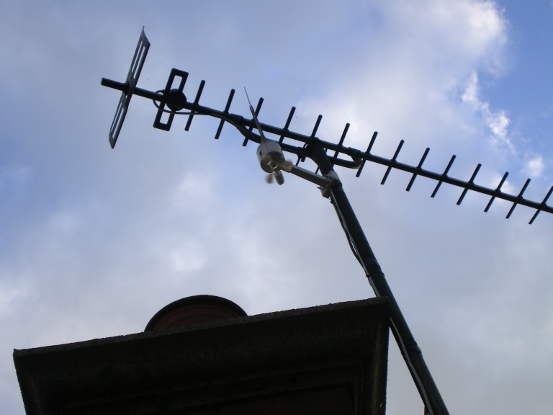
Wind sensor (in action - view 2).

Wind sensor (close-up - view 3).
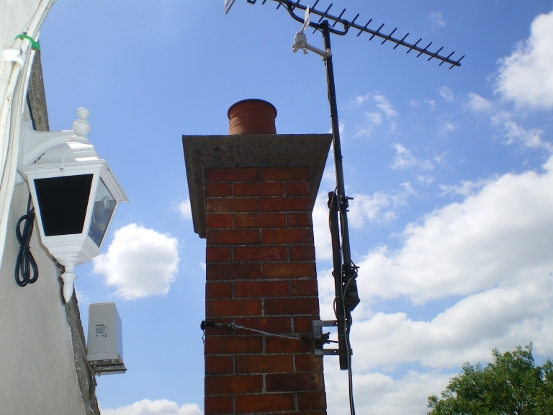
Most of the instruments. Top to bottom: wind sensor, rain collector, webcam housing.

This view gives you an idea of the station’s height - approximately two floors.
Photos of indoor equipment:
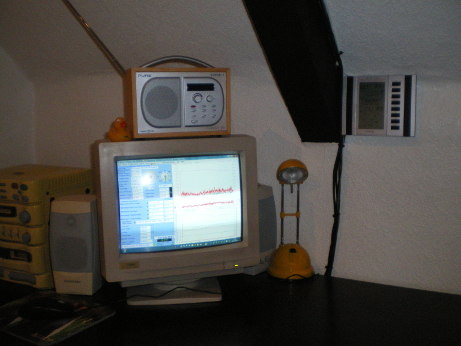 |
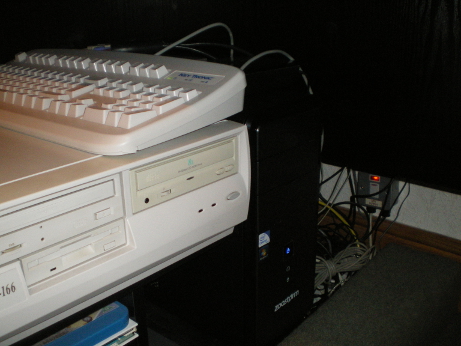
Computer. You may also notice a KVM switch which is connected to an old Windows 95 computer (which has nothing to do with the weather station!)
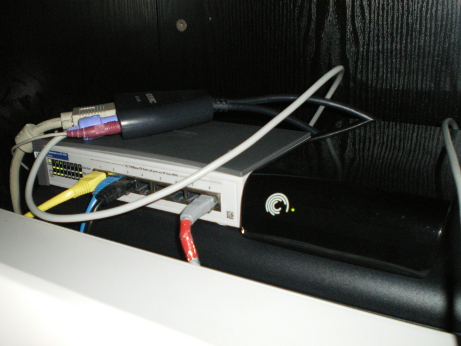 |
 |
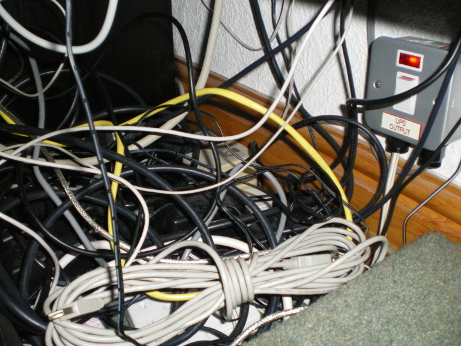
Just some of the cables that keep the systems online.
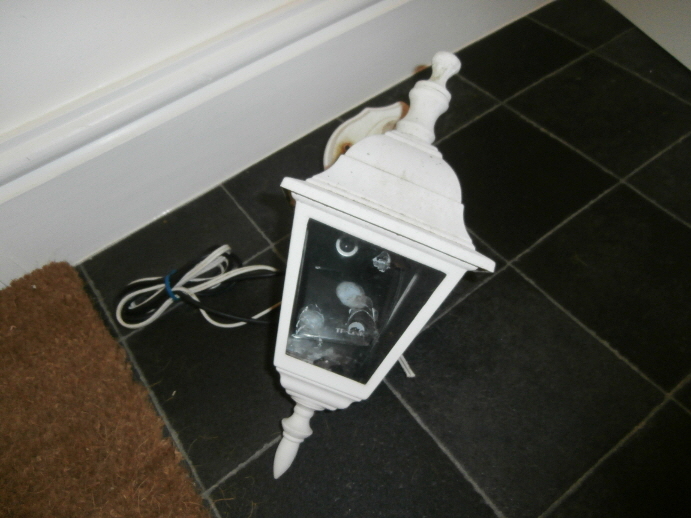
The old webcam and makeshift housing, waiting to be chucked in February 2017.